Learning Centre
Add Property Tax Field Data
The data fields in the Property Tax Calculator spreadsheet populate the dropdown options available when creating the Category Rates, the data used to generate the final public view.
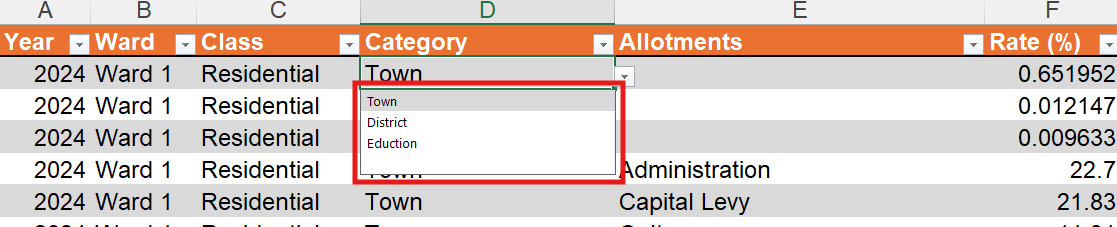
These fields include:
If an option has not been added to these lists it cannot appear in the Category Rates worksheet, or be displayed for public selection in the Property Tax Calculator.
We strongly recommend that all data fields be populated before you begin work on your Category Rates.
Adding Years to the spreadsheet
These values represent each year for which you want to add property tax data.
You will need to have at least one year in your data. If only one year is provided the year selection dropdown will be hidden.
To add years to your spreadsheet follow these steps:
- Open the property tax calculator excel spread sheet
- Select the 'Years' worksheet
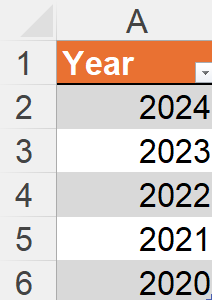
- In the 'Years' column add each year for which you want to provide property tax information. Use a 4 digit format (e.g. 2024), and add years in chronological order with the most recent at the top of the list. You can add as many years as needed
- Save your file
The final version will look something like this.
Adding Wards to the spreadsheet
These values represent each ward for which you want to add property tax data.
Wards represent areas that have separate property tax allotments. You will need at least one ward for your data to function correctly. If only one ward is provided the tool will not give the option to select a ward.
If you would like to change the name of the property tax areas to something else (districts, regions, divisions, etc.) you can customize the display name in the public interface through the dictionary. Do not change the name of the worksheet or the column in the spreadsheet.
To add wards to your spreadsheet follow these steps:
- Open the property tax calculator excel spread sheet
- Select the 'Wards' worksheet
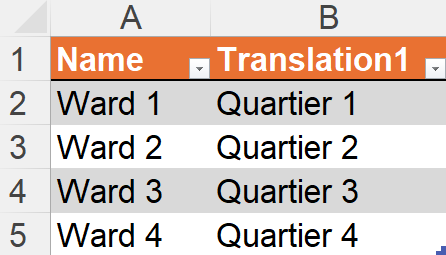
- In the 'Name' column add each ward to its own row. There are no restriction on how you name your wards (neighborhood names, colors, numbers, etc.). Note that the order your wards are listed in will match their order in the public interface
- If you are working with a multilingual website add the translated ward name to the 'Translation' column for each entry. If your website is not multilingual this column can be left blank
- Save your file
The final version will look something like this.
Adding Classes to the spreadsheet
These values represent each tax class for which you want to add property tax data.
Classes represent broad categories of land use.
At least one class is required. If only one entry is present the tool will not offer the option to select a class.
If you would like to change the name of the property tax classes to something else (departments, divisions, codes, etc.) you can customize the display name in the public interface through the dictionary. Do not change the name of the worksheet or the columns in the spreadsheet.
To add classes to your spreadsheet follow these steps:
- Open the property tax calculator excel spread sheet
- Select the 'Classes' worksheet
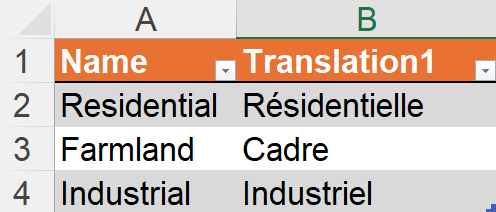
- In the 'Name' column add each class to its own row. There are no restriction on how you name your classes. Note that the order your classes are listed in will match their order in the public interface
- If you are working with a multilingual website add the translated class name to the 'Translation' column for each entry. If your website is not multilingual this column can be left blank
- Save your file
The final version will look something like this:
Adding Categories to the spreadsheet
These values represent each tax category for which you want to add property tax data.
Categories are the broad divisions of tax revenue that are then broken down further into allotments.
At least one entry is required.
If you would like to change the name of the property tax categories to something else (type, area, class, etc.) you can customize the display name in the public interface through the dictionary. Do not change the name of the worksheet or the columns in the spreadsheet.
To add categories to your spreadsheet follow these steps:
- Open the property tax calculator excel spread sheet
- Select the 'Categories' worksheet
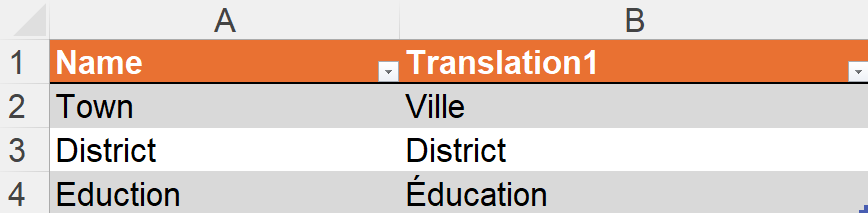
- In the 'Name' column add each category to its own row. There are no restriction on how you name your categories. Note that the order your categories are listed in will match their order in the public interface
- If you are working with a multilingual website add the translated category name to the 'Translation' column for each entry. If your website is not multilingual this column can be left blank
- Save your file
The final version will look something like this:
Adding Allotments to the spreadsheet
These values represent tax allotments you want to add to your property tax data.
Allotments are the names of the specific expenditures (by percentage) that property tax is divided into inside of categories.
The amount of property tax covered by each allotment is set in the Category Rate data.
If you have different allotments for different tax categories make sure to add them all to the list.
To add allotments to your spreadsheet follow these steps:
- Open the property tax calculator excel spread sheet
- Select the 'Allotments' worksheet
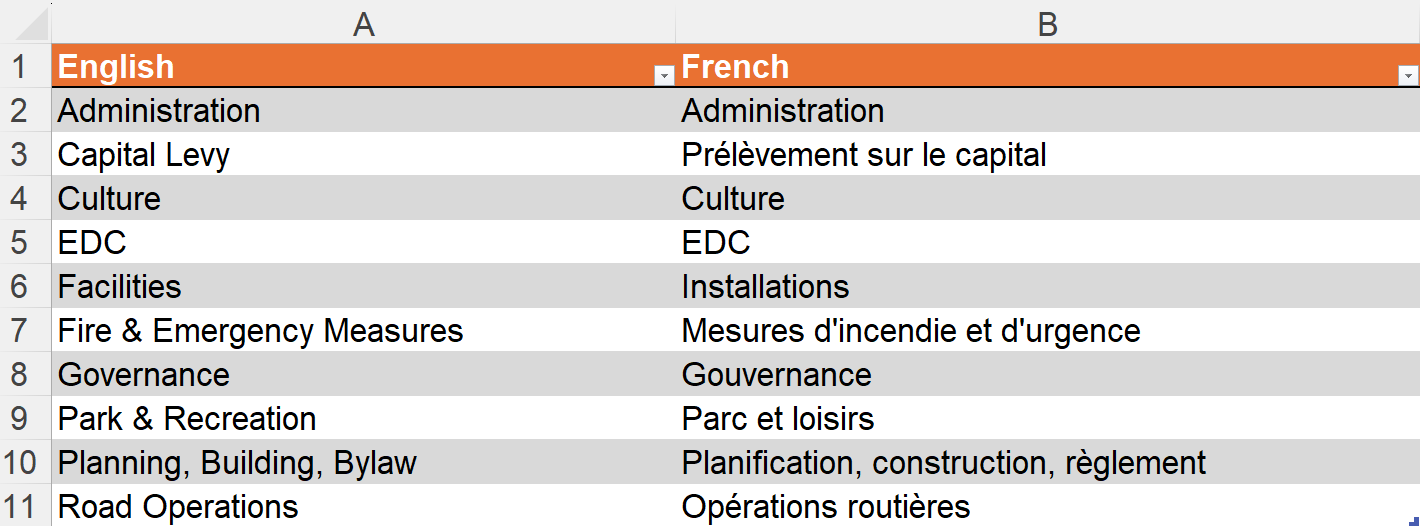
- In the 'English' column add each category to its own row. There are no restriction on how you name your allotments. Note that the order your allotments are listed in will match their order in the public interface
- If you are working with a multilingual website add the translated category name to the 'French' column for each entry. If your website is not multilingual this column can be left blank
- Save your file
The final version will look something like this:
Contact Us
GHD Digital Support
Primary +1-866-691-5528
Secondary +1-519-884-2476
Submit Online
Need Help?

